
Hey! I’m Mike, I go by DJ AXCESS, and I’m a DJ, musician, and public speaker based in Columbus, Ohio.
Watch the full video here: [YouTube Link]
I recently released a review of the Allen & Heath CQ12T, one of my favorite pieces of equipment for DJing weddings. After sharing that video, I received several questions about how I actually configure the mixer.
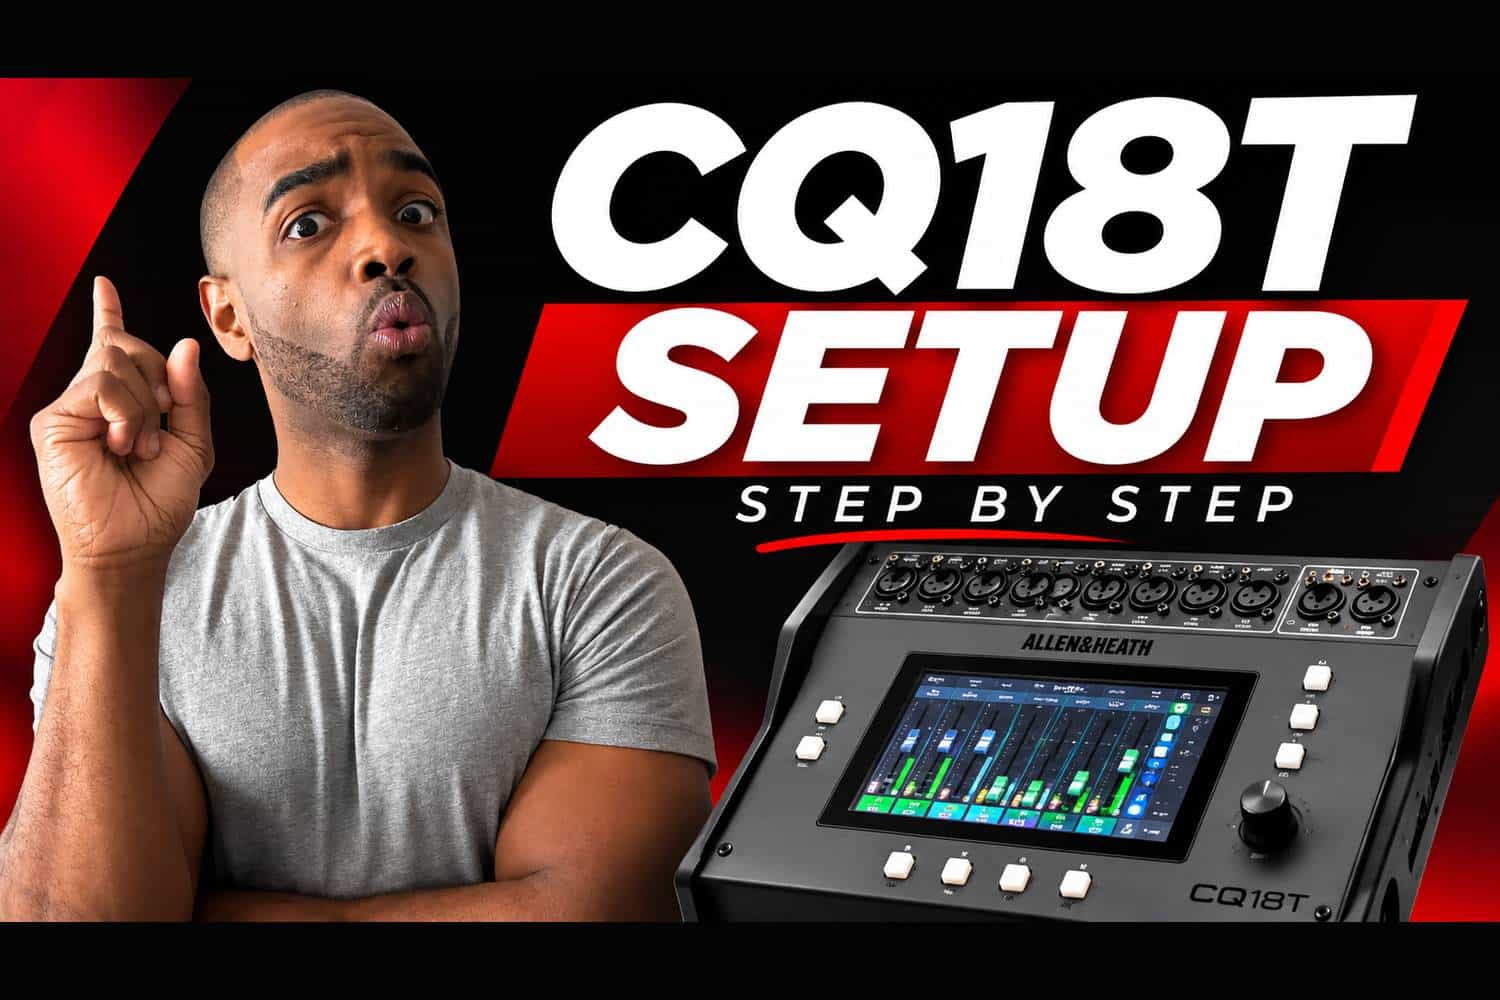
Rather than walking through another CQ12T setup, I decided to show you how I’m preparing my new Allen & Heath CQ18T for live performances.
The CQ18T is going to be an important part of my DJ and live musician setup. I’m building a system that can handle my DJ equipment, multiple saxophonists, drummers, microphones, in-ear monitors, and recording equipment without making things unnecessarily complicated.
I’m not an audio engineer. I’m a DJ who plays instruments, works with other musicians, and wants equipment that performs reliably.
Here’s how I’m approaching the setup.
1. Organizing Inputs and Connecting the iPad
Before worrying about EQ, effects, or recording, I want the mixer organized so anyone operating it can immediately understand what’s happening.
For my performances, I’m planning to use the following inputs:
- Channels 1–2: DJ left and right
- Channels 3–4: Drummers
- Channels 5–6: Alto and tenor saxophones
- Channel 7: Microphone
- Channel 8: DJ headphone cue
The first thing I do is name each channel and assign a color. My DJ inputs are red, saxophones are yellow, and microphone is green.
This might seem like a small detail, but clear labeling becomes extremely helpful during live performances.
I also stereo-link my DJ inputs so they operate from a single fader rather than occupying two separate controls.
Next, I configure the CQ18T’s wireless network.
Under Config, Control, and Network, I enable the Wi-Fi access point, select WPA2 security, and use the 5 GHz band. Once connected, I can control the mixer using the CQ MixPad app on my iPad.
This is especially important because I’m often performing rather than operating the mixer.
Having an iPad means I can hand control to someone else without requiring them to stand next to my equipment.
2. Configuring Outputs and In-Ear Monitors
One of the biggest advantages of using an external digital mixer is the flexibility to create independent mixes.
For this setup, I want separate outputs for my in-ear monitors, another musician’s monitors, and my recording equipment.
The important distinction here is understanding pre-fader versus post-fader routing.
Pre-fader sends allow me to create a monitor mix that doesn’t change when someone adjusts the main channel faders.
For example, I might want my saxophone significantly louder in my headphones than it is coming through the main speakers.
If someone lowers my saxophone in the house mix, I don’t want that adjustment affecting what I’m hearing.
That’s why I configure my in-ear monitor outputs as pre-fader.
I also create a second monitor mix for another saxophonist. That musician can have a completely different balance of instruments.
Another important addition is my DJ cue channel.
When I’m using a DJM-A9, I still need to hear the tracks I’m cueing alongside the other musicians.
To accomplish that, I’m routing a signal from my DJ mixer’s headphone output into an additional CQ18T input. That lets me incorporate my DJ cue signal into my monitor mix.
The result is a system where I can hear my DJ cue, saxophone, drums, and microphones without depending on the house mix.
3. Setting Up Multitrack Recording and Backup Audio
Recording is another major reason I wanted the CQ18T.
During a live performance, someone may be adjusting levels for the audience. Those decisions are based on how everything sounds in the room, which isn’t necessarily how I want the final recording to sound.
With multitrack recording, I can capture the individual inputs separately.
That means I can bring those recordings into Ableton Live and create an entirely different mix afterward.
Maybe the drums need more presence. Maybe the saxophone needs less reverb. Maybe the DJ track needs a different balance.
Having separate recordings gives me that flexibility.
For this setup, I’m choosing a 48 kHz sample rate rather than 96 kHz to reduce storage requirements.
I’m also selecting a recording source point immediately after the preamp so I can work with relatively unprocessed audio when mixing later.
In addition to multitrack recording, I’m configuring a separate stereo output for my external Tascam recorder.
This gives me two recording options: individual tracks for post-production and a stereo recording of the performance.
For the stereo recorder, I’m using post-fader sends so channel fader adjustments are reflected in that recording mix.
One important consideration is that a post-fader auxiliary mix doesn’t automatically duplicate every adjustment made to the main output. The routing, send levels, and effects still need to be configured correctly.
My goal is to have a reliable stereo reference alongside the multitrack files.
4. EQ, Feedback Control, and Effects
Once the routing is organized, I move into processing.
My approach is to start simple.
For the DJ inputs, I want minimal processing because the audio is already coming from a dedicated DJ mixer.
I’m using a peak limiter preset as a starting point, although the final levels and settings still need to be tested.
For the drummers, I’m starting with a high-pass filter around 100 Hz.
That helps reduce unnecessary low-frequency energy, although I’ll make adjustments based on the instruments and how they sound during the actual performance.
For my alto saxophone, I’m starting around 100 Hz. For the tenor saxophone, I’m starting around 90 Hz.
The microphone gets a high-pass filter around 120 Hz.
These aren’t universal settings. They’re starting points that I can refine once the microphones, instruments, and speakers are connected.
I’m also configuring the CQ18T’s Feedback Assistant.
I prefer its Live mode because it can gradually release temporary frequency cuts rather than maintaining every notch indefinitely.
That can be useful when a musician briefly moves into a position that creates feedback.
However, feedback prevention still comes down to proper microphone placement, speaker positioning, and gain structure.
Finally, I’m creating two reverb effects using the mixer’s Easy Verb processor.
One is intended for percussion, and the other is intended for brass instruments.
I’ll make the final adjustments once we’re at the venue and can actually hear everything together.
5. Saving Scenes and Preparing for the Performance
The last part of my setup is something I consider essential: saving scenes.
After configuring the network, labeling channels, and organizing my outputs, I save a scene called Main.
I also create a separate Backup scene.
As I continue making changes, I overwrite Main while preserving Backup.
This gives me a way to recover if I accidentally change something that I didn’t intend to change.
It’s a simple system, but one that makes a lot of sense when you’re preparing complicated equipment for live performances.
I also like completing as much configuration as possible before arriving at the venue.
At the event, I still need to establish proper input gain, verify routing, test monitors, and adjust EQ and effects.
But I don’t want to spend valuable setup time naming channels, organizing outputs, or figuring out how my recordings will work.
The more I can prepare beforehand, the more attention I can give to the actual performance.
Final Thoughts on the Allen & Heath CQ18T
What I appreciate about the Allen & Heath CQ series is that it gives DJs access to powerful audio routing and processing without requiring an unnecessarily complicated workflow.
For my weddings, the CQ12T continues to make sense.
For performances involving multiple musicians, additional monitor mixes, and multitrack recording, the CQ18T gives me more flexibility.
The biggest takeaway isn’t that every DJ needs an 18-channel digital mixer.
It’s that your equipment should support the way you actually perform.
For me, that means organizing everything before the event, building independent monitor mixes, recording individual instruments, and making sure someone else can confidently operate the system while I’m performing.
If you’re interested in improving your DJ setup or incorporating live musicians into your performances, I hope this breakdown gives you a useful starting point.
Want to learn more about my DJ performances, live musicianship, or event services?
Visit my contact page to connect.